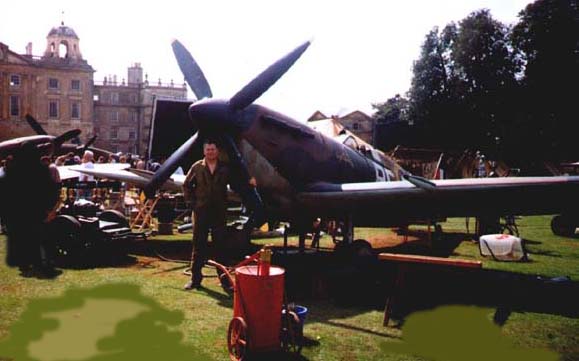
The Spitfire Spares Mk IX Spitfire
Welcome to the Spitfire Spares Full
scale replica page
1
2
3
4
5
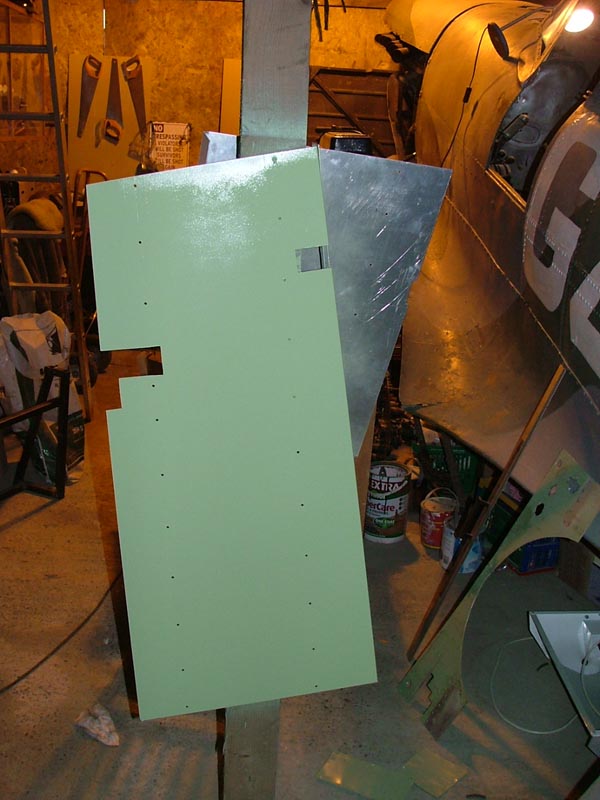
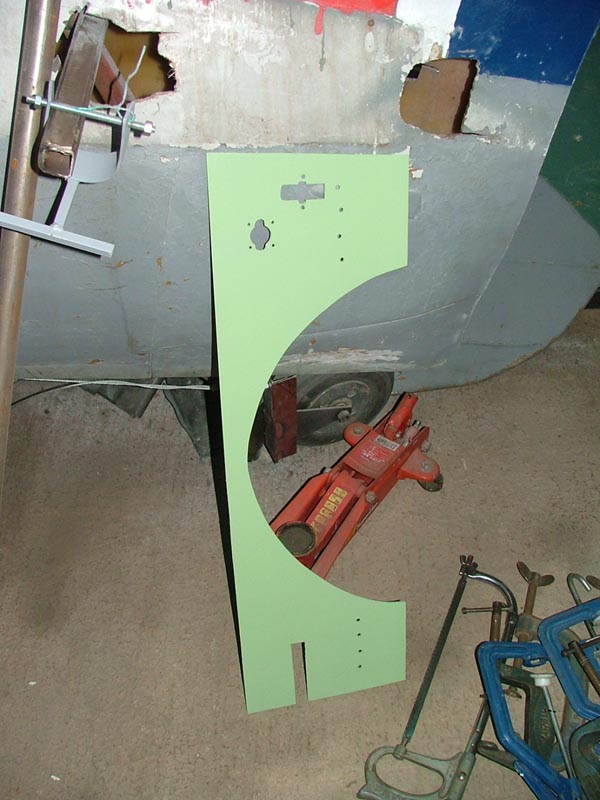
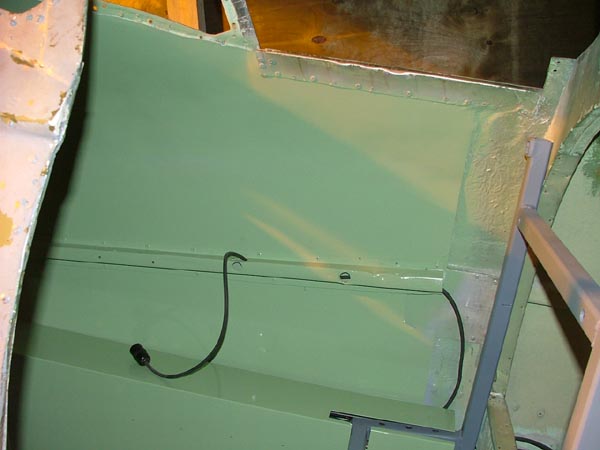
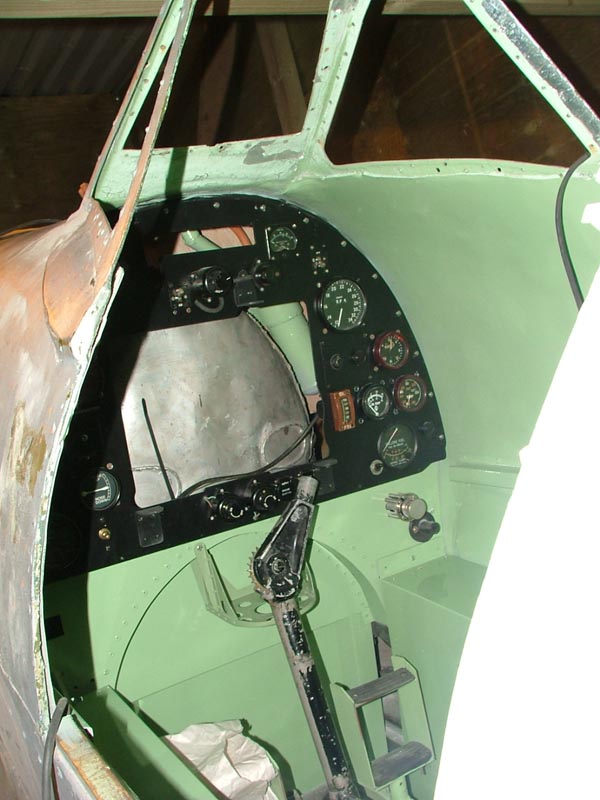
New side panels for the cockpit primed painted
and ready to fit
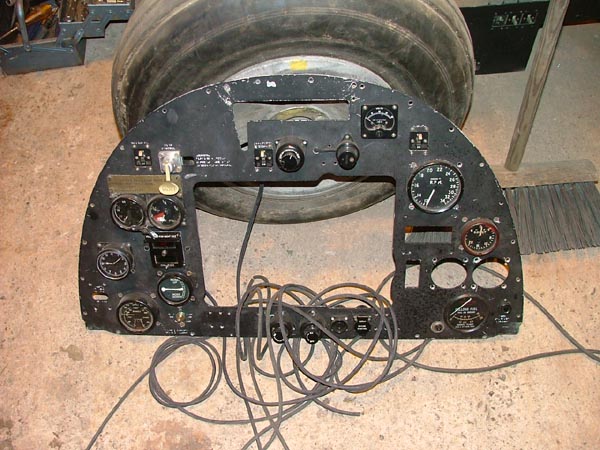
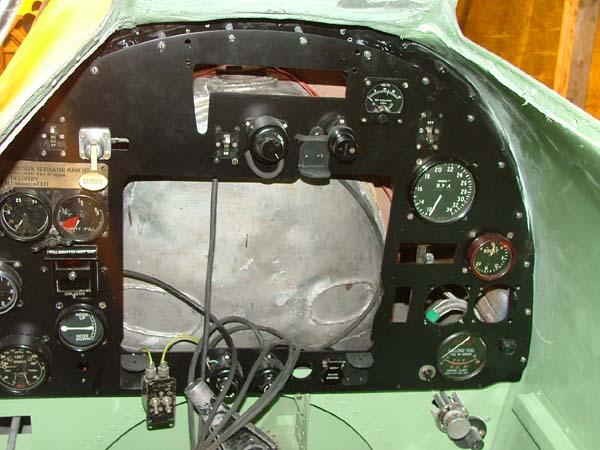
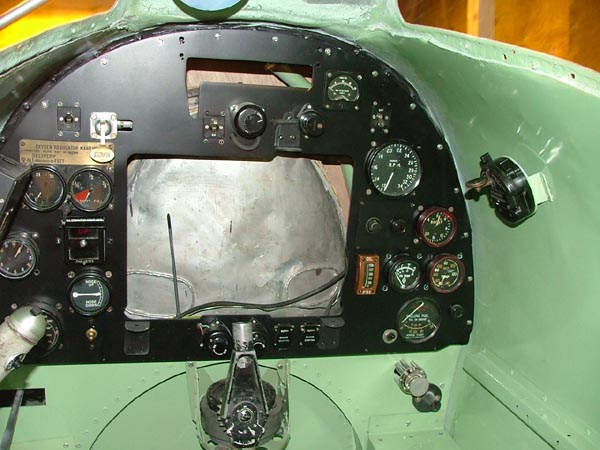
Instrument panel now fully wired and ready to fit
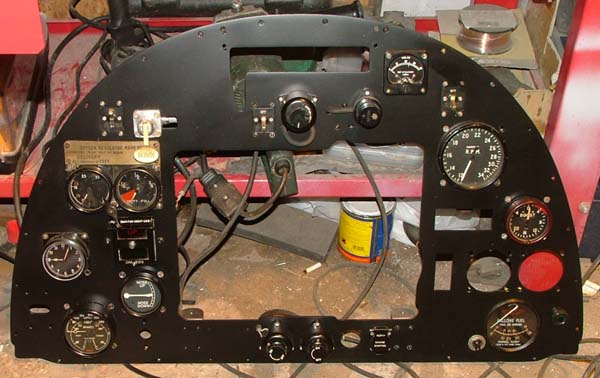
Panel repainted
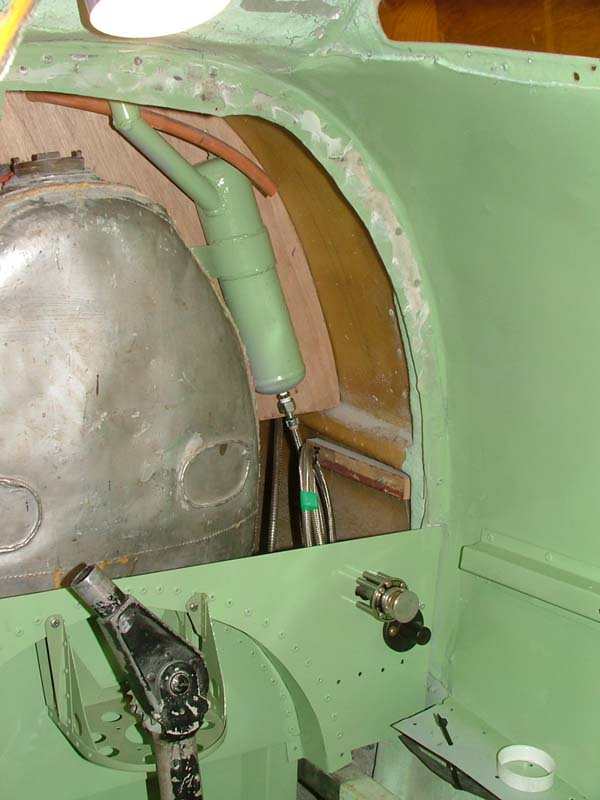
This is the bottle we have designed to feed the K
Gass for priming the engine made from an old CO bottle. This will mount next to
the fuel tank and be accessible through the hatch for the main fuel tank. Using
a separate bottle allows us to use higher octane fuel for priming and starting,
note the breather at the top essential to prevent a built up fumes in the tank.
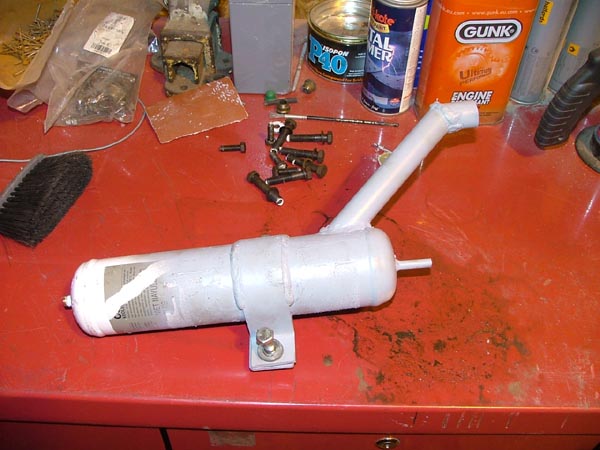
K Gass bottle Painted and fitted
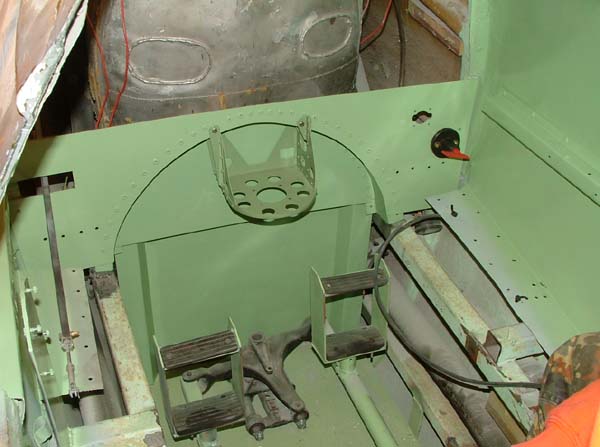
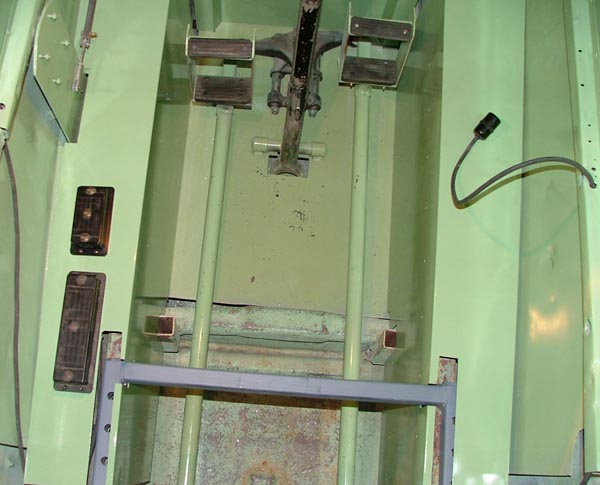
The frame for the seat, not quite an original
Spitfire copy but we have to cope with an internal steel frame. It will look
quite good when fitted with alloy side panels and of coarse its very strong.

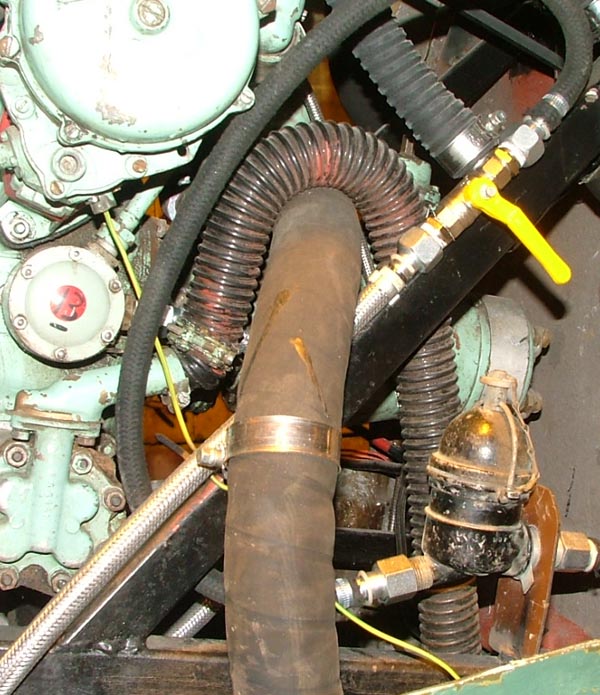
Original Spitfire Fuel filter and fuel cut off
valve. The filter is normally fitted to the bulk head in the real deal but we
just don't have room and its more convenient for access and maintenance where it
is. The fuel cocks will be operated from the cockpit.
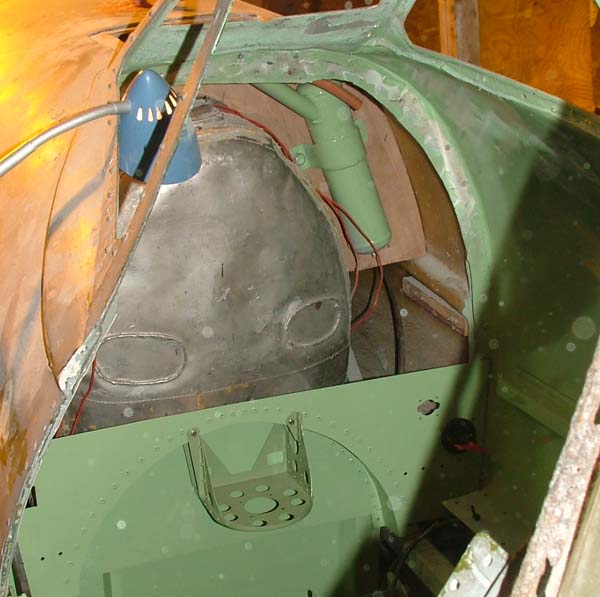
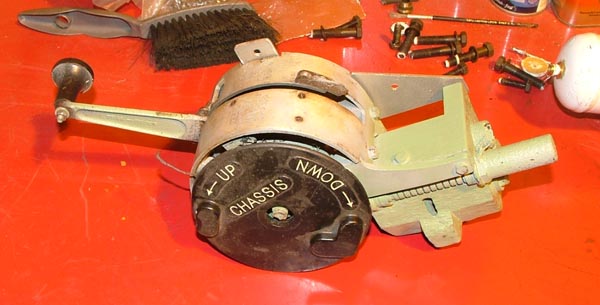
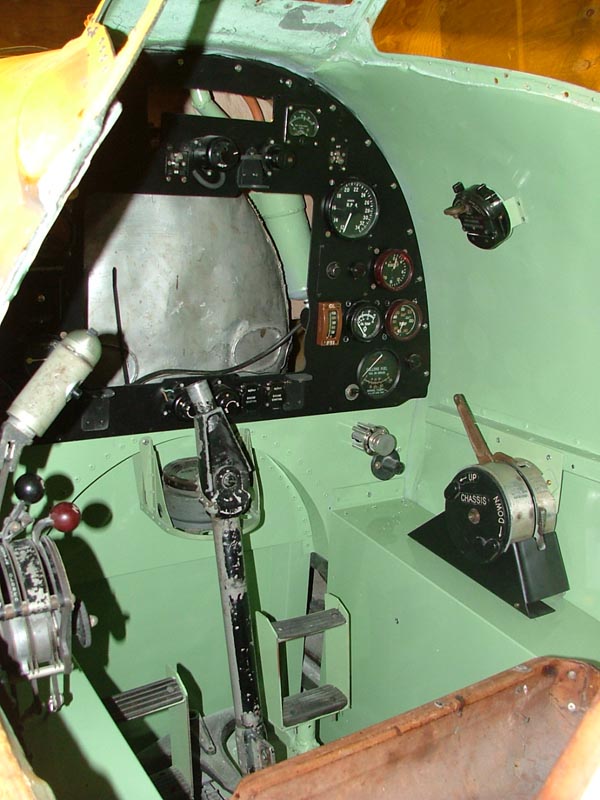
Here is our undercarriage selector waiting for a
make over before fitting.
Lower bulkhead and compass tray ready for final
fitting
K Gass Pump fitted
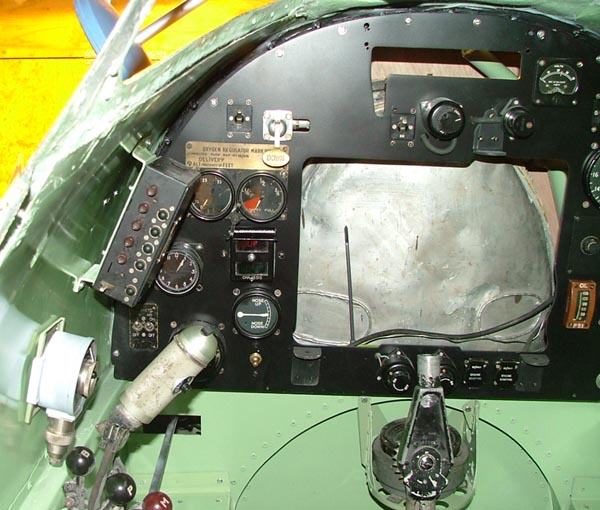
Panel Fitted
Side panels fitted to cover the steel frame. Fuse
boxes mounted. The large one controls all the electrics for the panel etc. I
didn't like the first seat frame design so it was modified.
Cockpit lights wired and ready to be mounted.
Seat Frame, we will add to this to give a more original look.
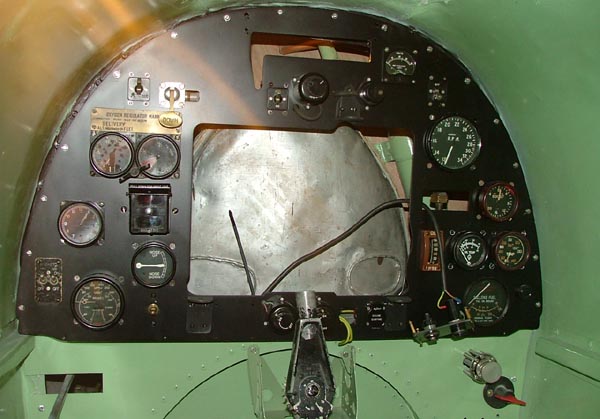
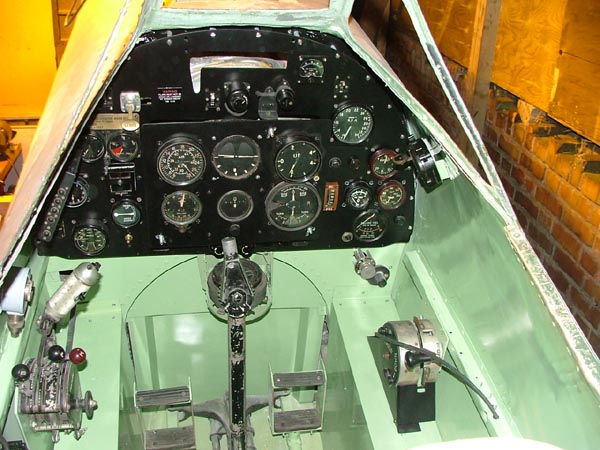
The panel is almost complete, all wiring done!!!!
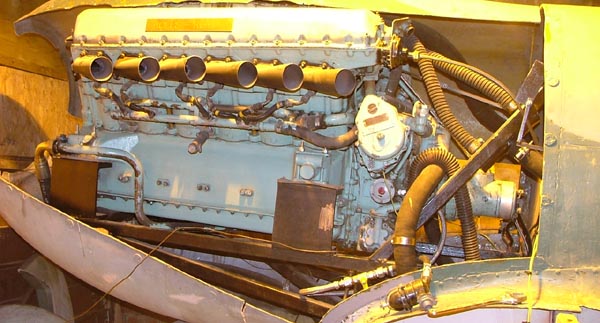
oil and rad temp gauges fitted and connected to the engine. The supercharger
plate is hanging through the mid right of the panel about to be fitted. You can
just see the flexible drive connection to the rev counter through the slot. The
red switch below the K Gass would original have been the fuel cut off it is now
the master electric's control. The U/C indicator is wired in and works (green
only of coarse) The two green and yellow wires through the hole next to the
starter button is the wiring for the coil boost which give a big spark when she
starts, magnetos do not produce a very healthy spark at start up although I did
see this engine fire up without boost after having a quart of petrol was chucked
into the air intakes. Mag switches are wired and the cockpit lights are
connected waiting to be mounted.
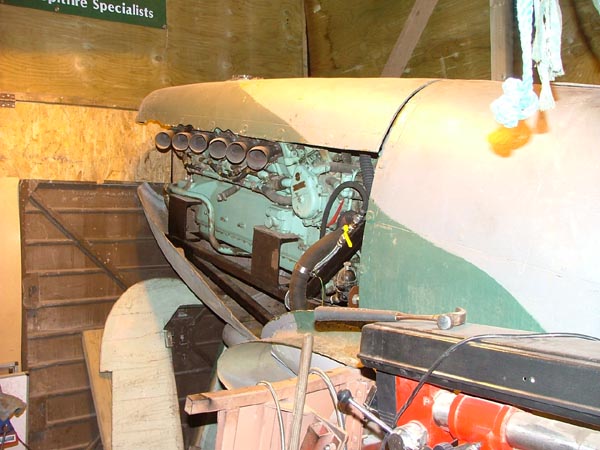
The only real deviation from original Wartime
parts is the OIL Temp gauge. I had the oil tank made along time ago and at the
time could not get an original oil temp gauge. I went with a new version mounted
in an original case. The problem is the oil tank was made to fit this sender
unit and now I have an original gauge the sender will not fit. To change it
would mean ripping out the tank, changing the fitting and I cannot face that
with so much still to do. LOL
She really is very very close to start up, we
need to redo the fuel filters, they were fitted upside down LOL no-one spotted
it???. The oil pipes will be changed for new steel braided ones, they are very
strong and look good. When she finally starts I will be posting a video here so
keep watching.
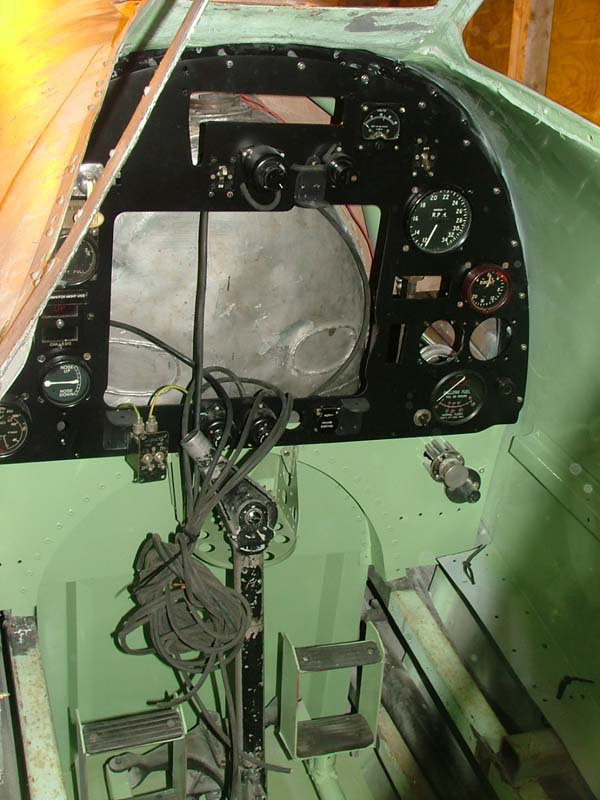
Rev counter drive revamped
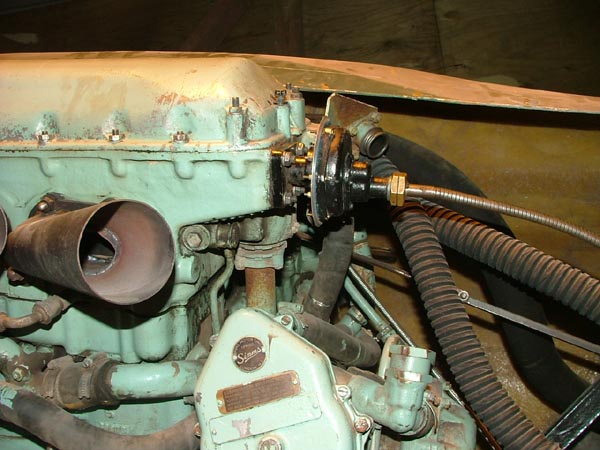
Supercharger plate fitted
Redoing the fuel lines and connections to the oil
tank.
UPDATED 18/10/07
Radio tuner and camera gun counter fitted.
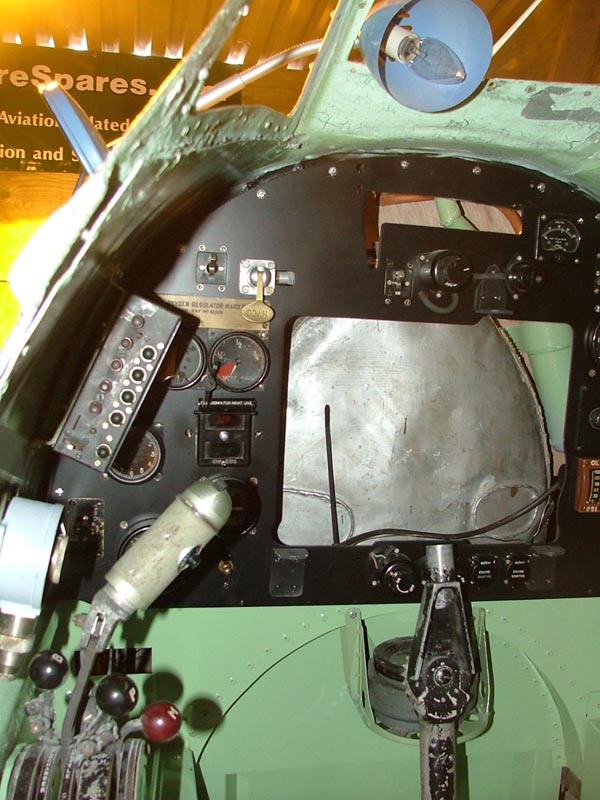
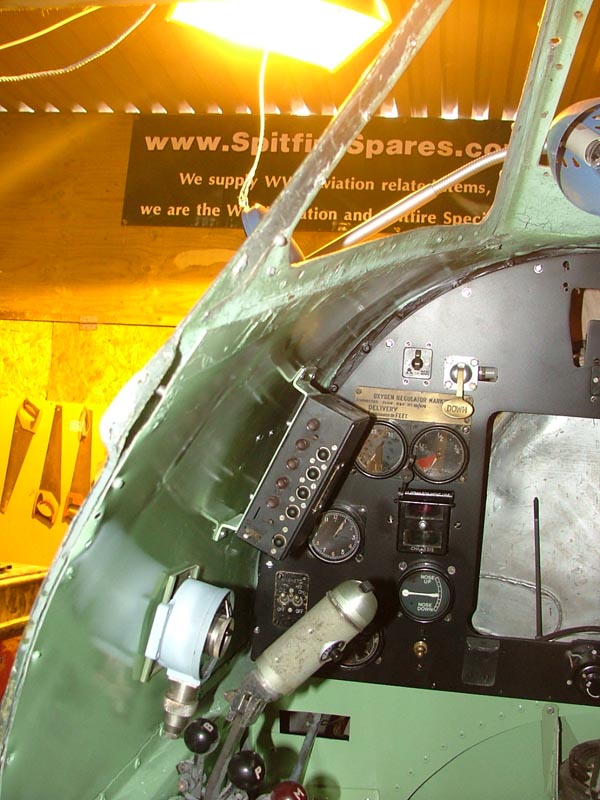
Morse Tapper fitted
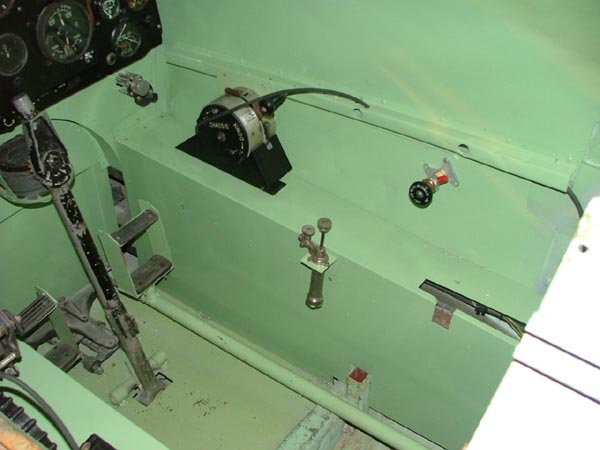
Trim Wheel fitted
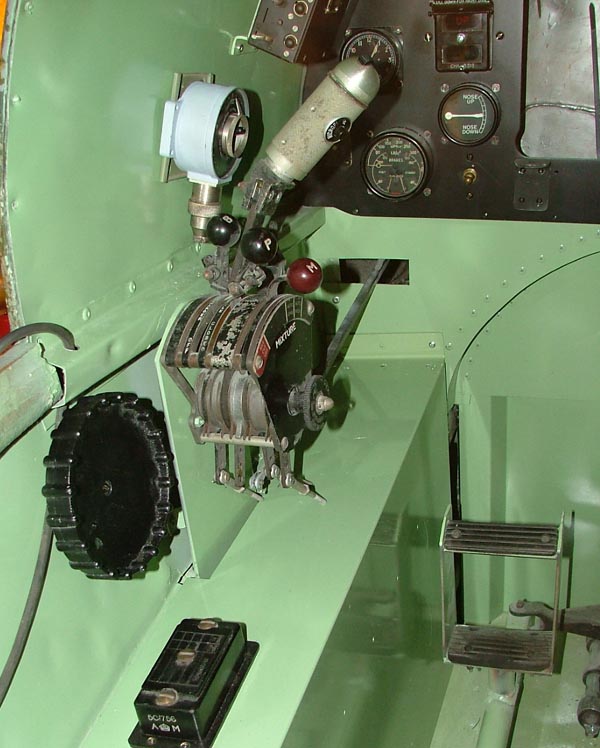
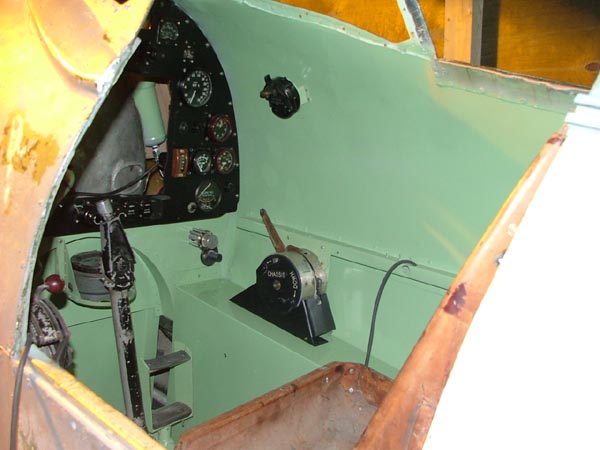
Undercarriage chassis control fitted.
UPDATED 23/10/07
Oxygen control and de-icing pump fitted.
Blind flying panel test fitted
1
2
3
4
5
|